
Here is the simplest way to install and validate fonts in Font Book on Mac. You will find this guide very simple to follow, even if this is your first time working with fonts on your Mac.
To use fonts in your apps, you need to install the fonts using Font Book. When you’re installing fonts, Font Book lists any problems it finds for you to review. You can also validate fonts later.
On your Mac, do any of the following:
- In the Font Book app , click the Add button in the Font Book toolbar, locate and select a font, then click Open.
- Drag the font file to the Font Book app icon in the Dock.
- Double-click the font file in the Finder, then click Install Font in the dialogue that appears.
When you install a font, Font Book automatically validates or checks it for errors.
Fonts you install are available only to you, or to anyone who uses your computer, depending on the default location you set for installed fonts. See Change Font Book preferences.
Download system fontsSystem fonts you can download appear dimmed in the font list in the Font Book window.
- In the Font Book app on your Mac, click All Fonts in the sidebar.
If you don’t see the sidebar, choose View > Show Sidebar.
- Select a dimmed font family or one or more dimmed styles.
- Click Download at the top of the preview pane, then click Download in the dialogue that appears.
If the preview pane isn’t shown, choose View > Show Preview. If you don’t see a Download button, switch to another preview type (the Download button isn’t available in the Information preview).
Validate fontsIf a font isn’t displayed correctly or a document won’t open due to a corrupt font, validate the font to find issues and delete the font.
- In the Font Book app on your Mac, select a font, then choose File > Validate Font.
- In the Font Validation window, click the arrow next to a font to review details.
A green icon indicates the font passed, a yellow icon indicates a warning, and a red icon indicates it failed.
- Select the tick box next to a failed font, then click Remove Checked.
Tip: To find warnings or errors in a long list of fonts, click the pop-up menu at the top of the Font Validation window, then choose Warnings and Errors.
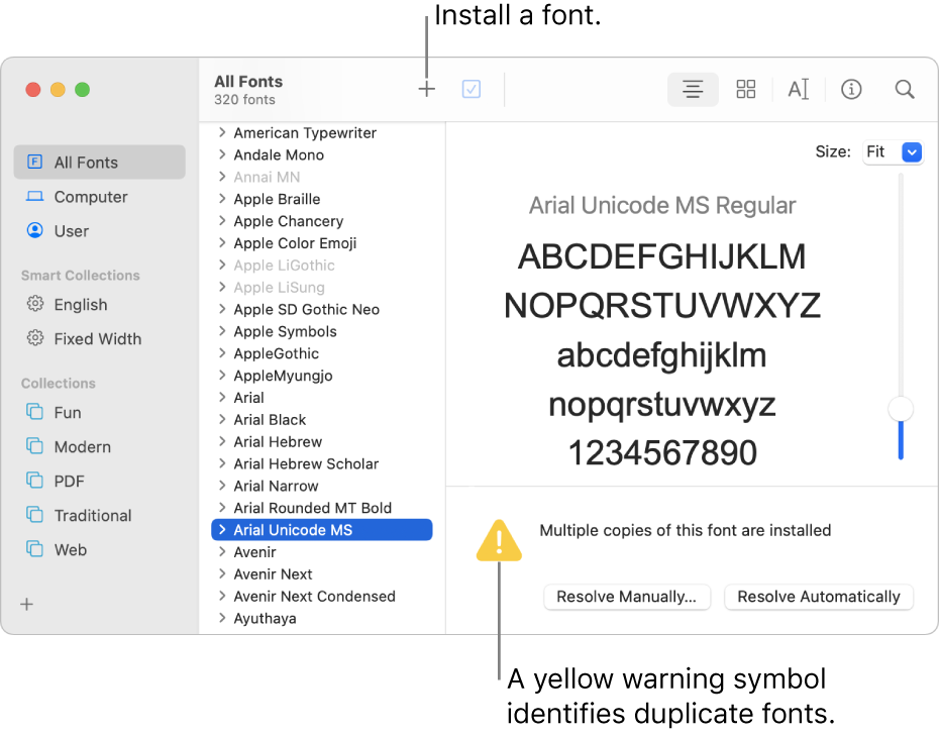
Resolve duplicate fontsIf a font has a duplicate, it has a yellow warning symbol next to it in the list of fonts.
- In the Font Book app on your Mac, choose Edit > Look for Enabled Duplicates.
- Click an option:
- Resolve Automatically: Font Book disables or moves duplicates to the Trash, as set in Font Book preferences.
- Resolve Manually: Continue to the next step to review and handle duplicates yourself.
- Examine the duplicates and their copies, then select a copy to keep.
The copy that Font Book recommends keeping is labelled “Active copy” and is selected. To review other copies, select one.
- Click Resolve This Duplicate or, if there’s more than one duplicate, Resolve All Duplicates.
If you want the inactive copies to go in the Trash, select “Resolve duplicates by moving duplicate font files to the Trash”.
ConclusionsThis guide will help you all download fonts, install, and validate them on your Mac computer.
Save it and come back to it whenever you need.
Also please help us spread the word by this article, by sharing it with your friends.

I'm a programmer at heart. But in my 20s, I realized there was more to the world of fonts than just Courier.
Driven by endless curiosity, I built a system to explore them.
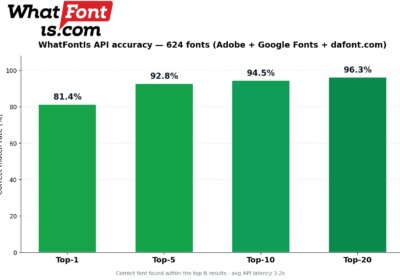
That project grew into one of the world’s leading font identifier platforms: www.WhatFontIs.com.
By 2024, WhatFontIs is helping nearly one million designers—famous or not—discover the names of the fonts they need.