
So, you download a font from the internet and you want to use it in your projects. But do you know how to install a font on your local system?
There are plenty of apps, such as Word or Excel, that automatically install fonts when you install them.
You can often use these fonts with any other app on your program.
However, sometimes you’re wondering how to install a new font. Regardless whether you’ve bought it, made it, or downloaded it.
So, how to add fonts to Windows? Where to install fonts? Where are fonts stored in Windows?
These are only some of the questions. Below you will learn how to use downloaded fonts, as well as how to install new fonts, so you know how to do those things because many people truly need them.
Windows 7, Windows 8 and Windows 10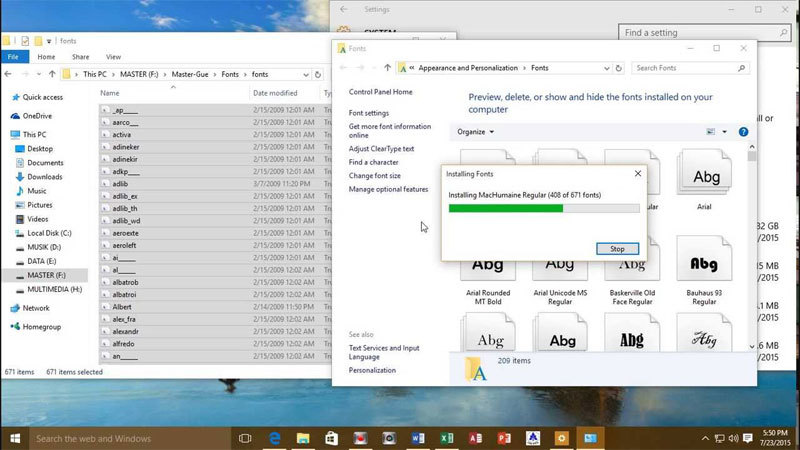
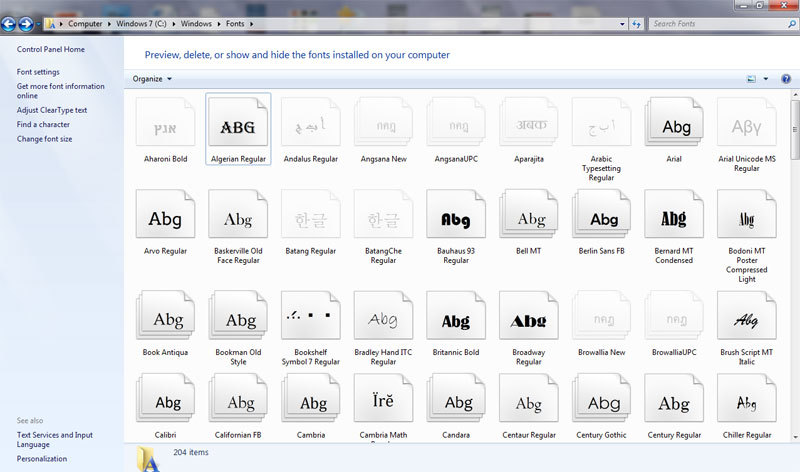
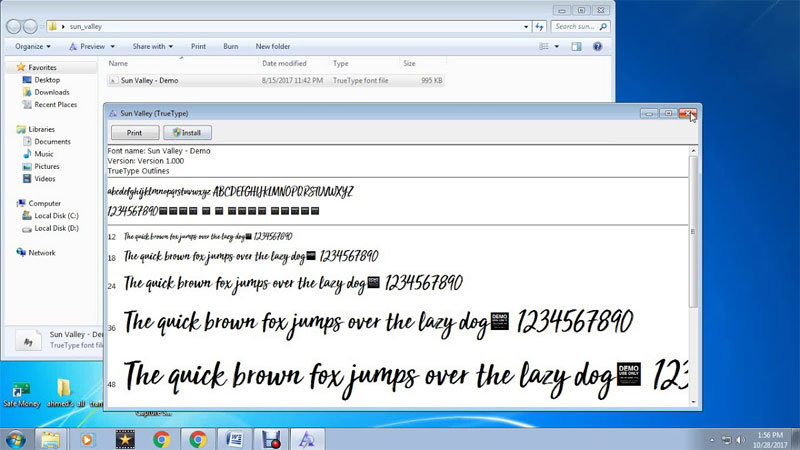
This is pretty easy. First, you go to the folder where you’ve stored the font you want to install. Choose the font or fonts, you need, and right-click them. From the menu, choose “Install”. The fonts will install, and you’ll be free to use them with apps on your computer.
Windows XP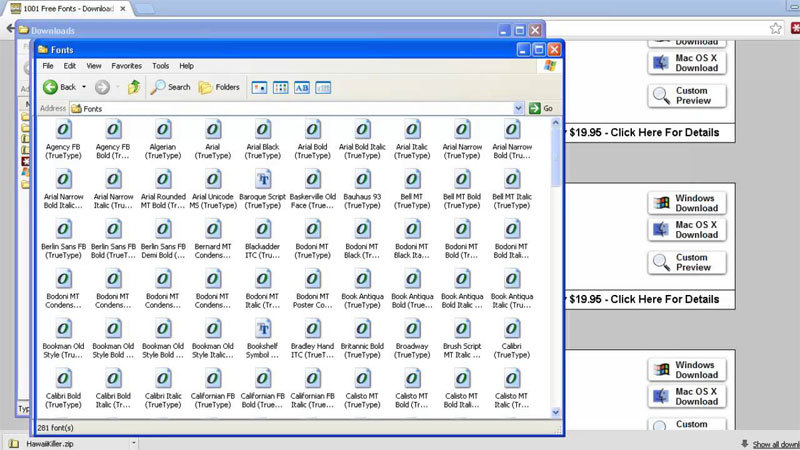
Open My Computer, and click the Control Panel icon. You will find “Fonts” inside, click the icon. At the top left, choose File, and then “Install New Font. With the browser window that opens, go to the folder where you’ve stored whichever font or fonts, you want to install.
If you’ve bought fonts they’ll be in the same location where you decompressed them. Select which fonts you want to install by clicking on one font, Control-clicking for multiple, or Shift-clicking for a continuous group of fonts. Press “OK” for the fonts to install, and close the Fonts control panel when you’re done.
Windows Vista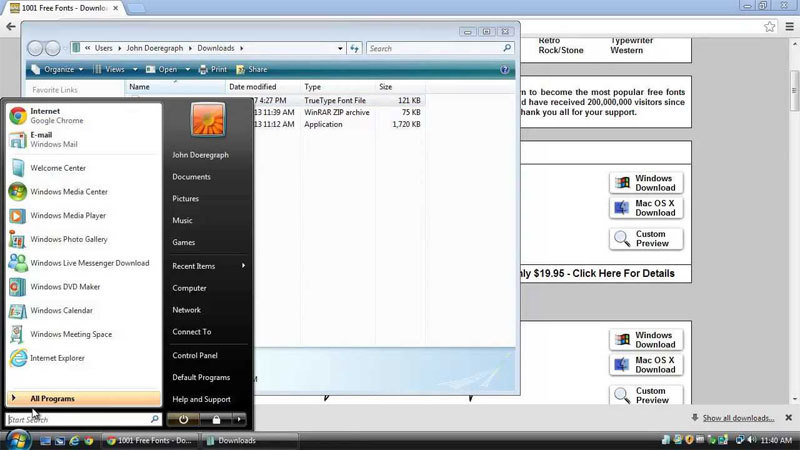
From the Start menu (lower left corner), choose Control Panel. You will find Fonts under “Appearance and Personalization”. Inside, in your list of fonts, you can right-click, and choose to “Install a new font”.
Again, navigate to where you stored your fonts, and choose which fonts you want to install. Click “OK” to install them, and close the control panel once you’re done. The fonts are now installed, and you’re able to use them with the apps you need.
Mac OS 8, 9 and Mac OSX Classic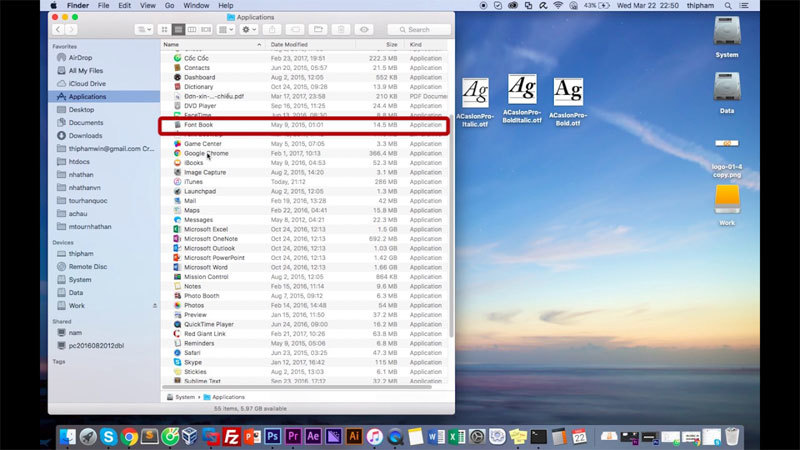
If you want to install OpenType .otf or Type 1 fonts, you will need ATM Light 4.6, or a later version. If you’re using OSX, you’ll need to decide whether you want the fonts into both the Classic and the OSX native environment.
If you want them to be available for both Carbon and Native and Classic application, put them in the Classic environment. If you only need them for Native/Carbon applications, go ahead and install them into the native OSX environment.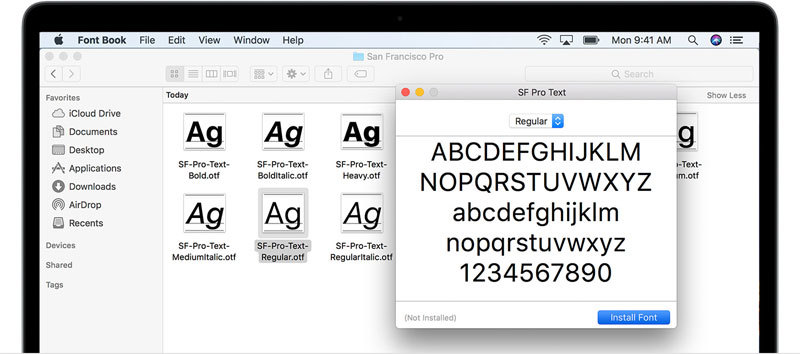
Another thing to note is that you can’t just move an entire folder of fonts in the system location, as OSX can only read files that aren’t inside another folder.
If you’re using a font management utility, refer to their documentation for instructions. If, however, you’re using ATM Light without such a utility, follow the steps below.
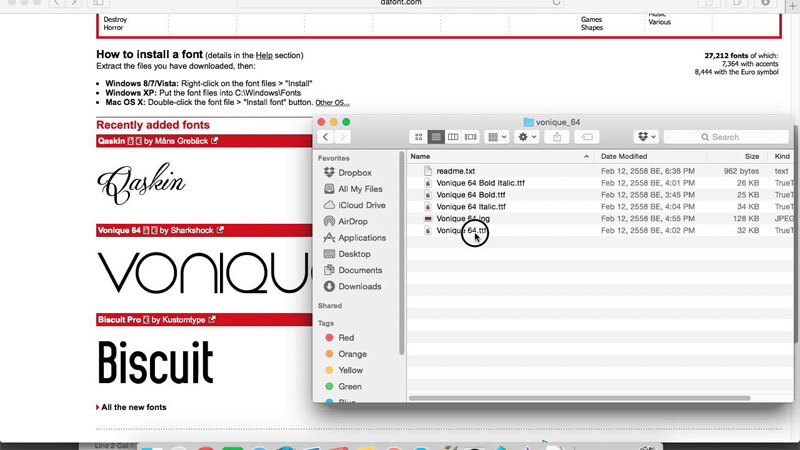
First of all, quit any active applications. Go where you’ve stored, or downloaded the fonts. You will find that each font collection or package is in an individual folder.
You should install them in the System Folder: Fonts folder, but make sure you copy all files from the individual folders to that folder. If you also have PostScript Type 1 fonts, you need to move both the outline font files, usually marked with a red A icon, and the suitcases. Once you’re done with this, you’re good to go.
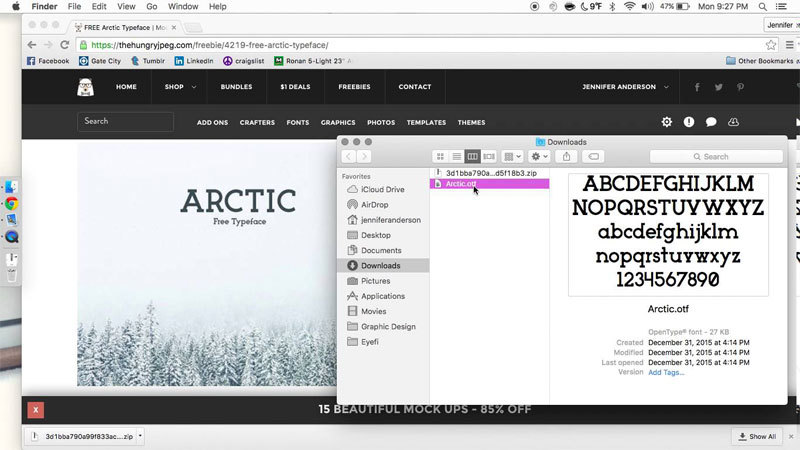
Mac OSX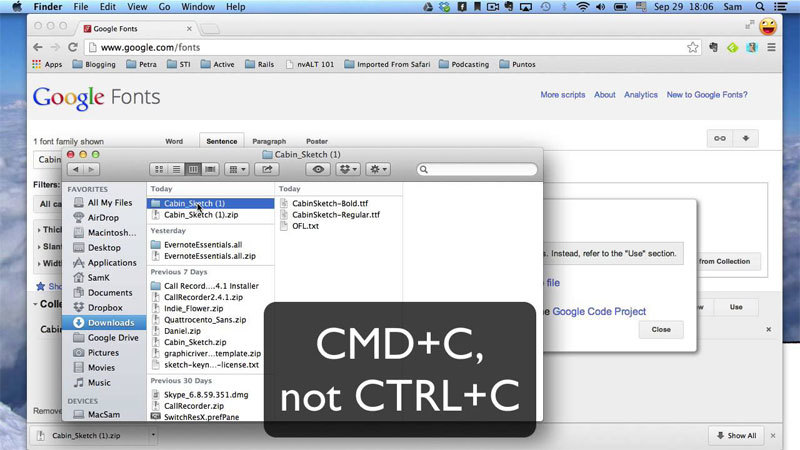
As mentioned above, if you install the fonts in the OSX system locations, you won’t be able to use them in the Classic application. You can choose between making them available for any user, or for just a specific user.
To begin with, quit all active applications. Find where you’ve stored the folders you want to install. If you have bought Adobe fonts online, they will be decompressed in a folder on the hard drive, and if there are multiple, they’ll all be in their own folders.
As with the previous instructions, move each font from their folder to one of the locations below.
- <Volume>/Library/Fonts/, if you want them to be used by anyone, but you will need to be logged on as Administrator if you want to put them here.
- <Volume>/Users/<username>/Library/Fonts, if you want them to only be available to that one specific user.
Once you’re done with this, the fonts should be installed and available in the font menus of your Native and Carbon applications.
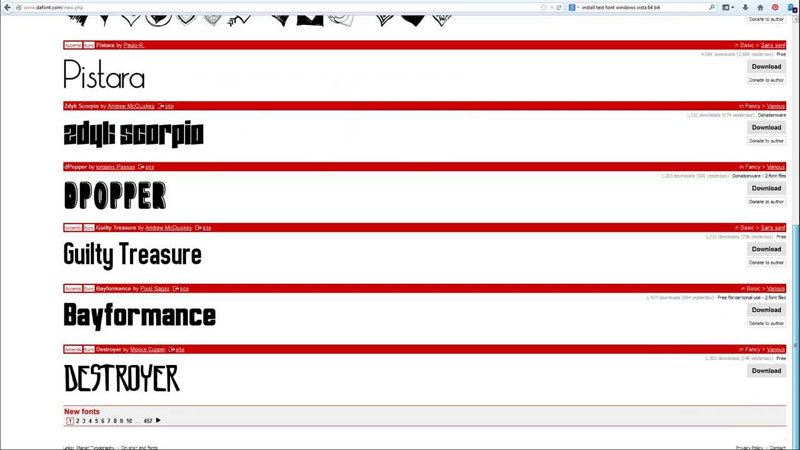
LinuxLinux has plenty of distributions, and they all have different desktop environments. They usually come with different applications for fonts as well. When you’re installing a font, you need to download it in either TrueType, OpenType, or PostScript Type 1.
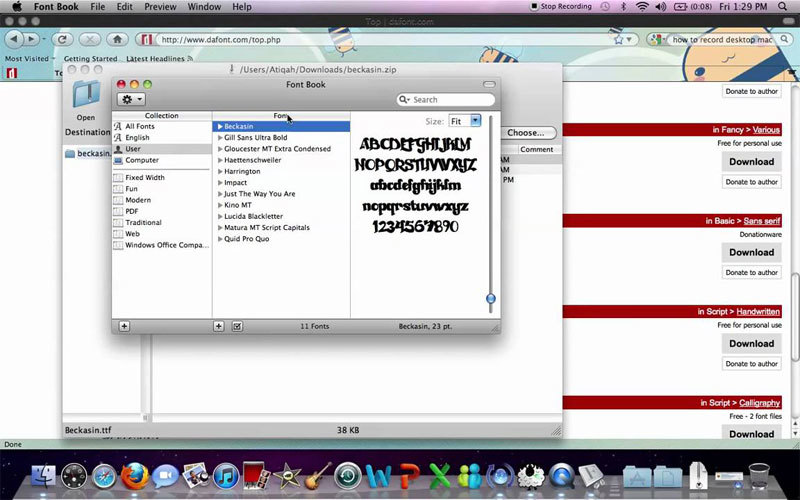
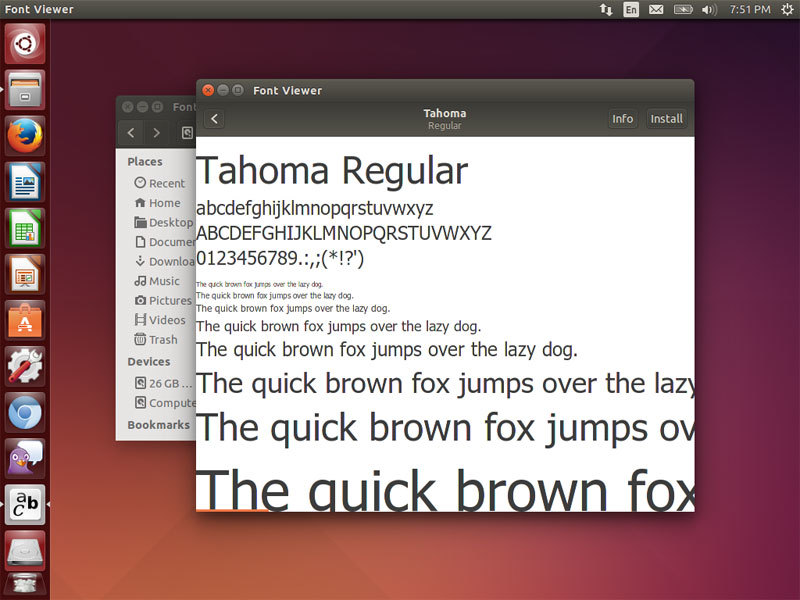
To preview it, double-click it. If you have any GNOME-based distribution, you will be greeted by the GNOME Font Viewer, and an install button if you want to install the font for your user account.
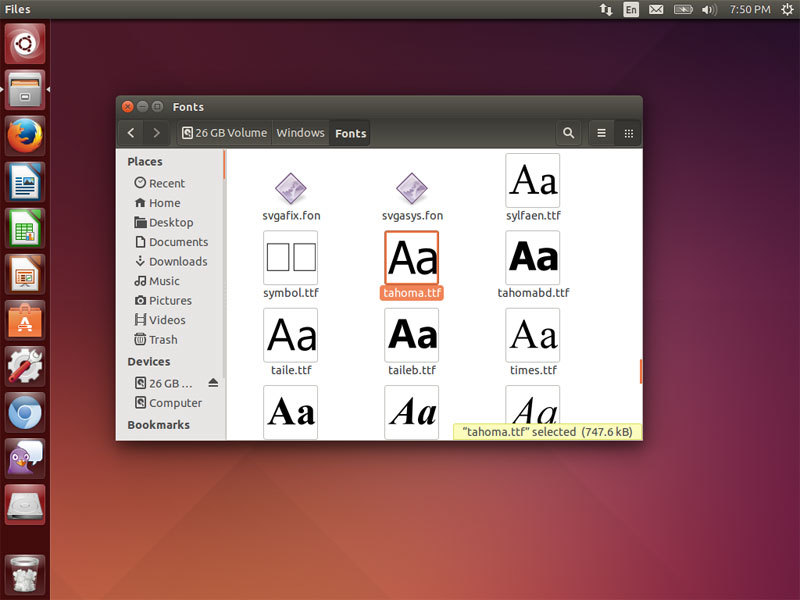
Installing fonts manually is also an option, even with multiple fonts at once. To do this, use your file manager to open your Home directory. If you have Nautilus, click View, and then Show Hidden Files, in order to show the hidden folders.
The .fonts folder is one of them, and you should double-click it to open it. If it doesn’t exist, right-click and create one. The fonts should be placed in this directory if you want to install them for your user account.
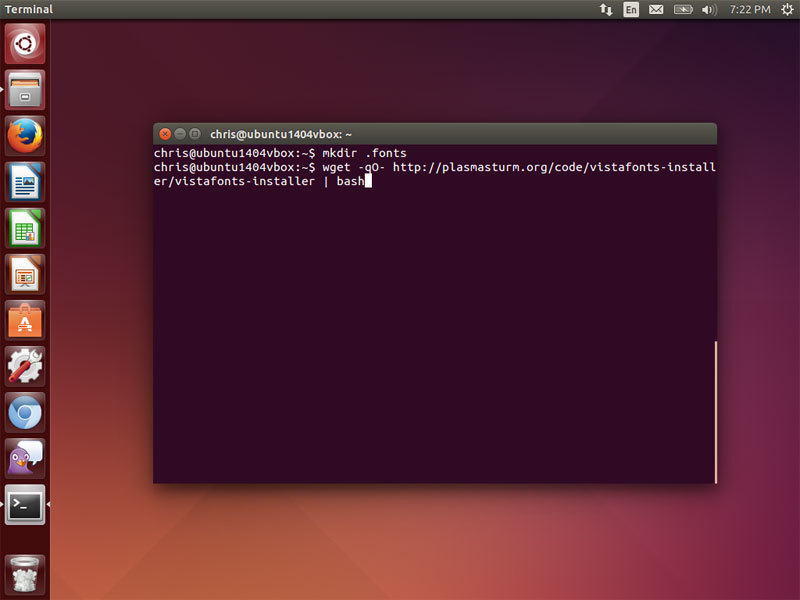
Before being able to use the fonts, you should know that you’ll need to update the font cache. This is easily done by opening a terminal and running the “fc-cache” command.
Regardless of whether you want your operating system to have a different font, and different look, you will need to install that font on your operating system. Installing it will make it available to any program you have and use on your operating system.
However, most applications don’t let you load a font and use it, and that’s why you’ll need to install the fonts in order to be able to use them.
We hope you enjoyed this article on how to install a font.
Technical lead at WhatFontIs since 2010 with a (healthy?) obsession for fonts.